Gift guide ·
How Laser Engraving Works (and What Makes a Photo Engrave Well)
A plain-English guide to laser engraving: how a diode laser marks wood and glass, how a photo becomes thousands of tiny dots, and how to choose a photo that engraves well.
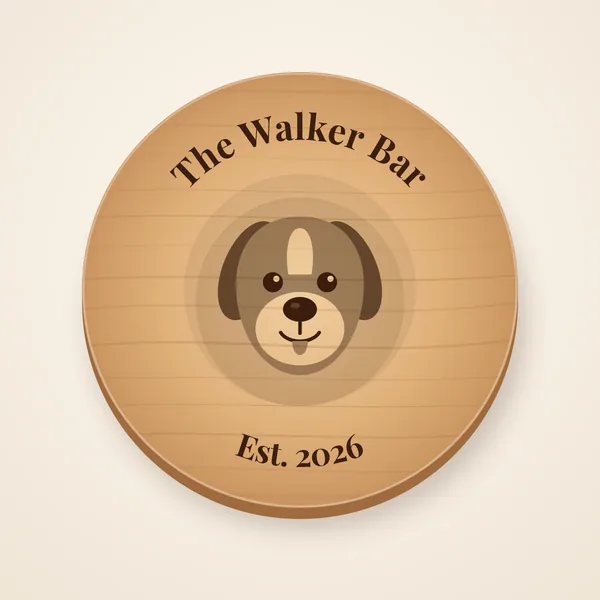
People are often surprised when they first watch a laser engraver at work. There is no ink, no blade and no contact with the surface at all. Just a small, very bright point of light moving back and forth, and a picture slowly appearing in the wood.
This guide explains what is actually happening, in plain English, and then gets practical: what makes a photo engrave beautifully, what makes one disappointing, and what we do in the Laser & Ink workshop to give every design the best chance.
What a laser engraver actually does
A laser engraver focuses a beam of light down to a tiny spot. All of the beam’s energy is concentrated into that spot, so when it hits a surface it heats it very quickly. Depending on the material and how much energy is delivered, the surface darkens, burns away or vaporises. Move that spot around in a controlled pattern and you can draw text, shapes and even photographs.
We use a Creality Falcon 10W diode laser, controlled with LightBurn software. A diode laser uses a semiconductor (a close relative of an LED) to produce its beam, rather than the gas tube in a CO2 laser. Diode lasers are excellent for engraving wood, leather, slate and coated metal, and they can etch glass, which covers everything we engrave.
Power, speed and passes
Three settings do most of the work:
- Power is how strong the beam is. More power means a darker, deeper mark.
- Speed is how fast the laser head moves. Slower means the beam lingers longer in each spot, which also means a darker mark.
- Passes is how many times the laser goes over the same area. Two lighter passes can give a cleaner result than one heavy one.
Getting these right is a balance. Too little and the engraving looks faint and washed out. Too much and fine detail blurs together, edges char and the surface can scorch. Every material behaves a little differently, so settings are tuned for each one.
Lines per inch
When a laser engraves an area (rather than cutting along a line), it works a bit like an old inkjet printer. The head sweeps left to right, steps down a tiny amount, sweeps again, and repeats, building the image up line by line. The number of lines it fits into each inch is the lines per inch, or LPI.
More lines per inch generally means finer detail, up to a point. Pack the lines too closely and they overlap, so the image goes muddy and dark. The ideal setting depends on how wide the laser spot is and how the material reacts, so it is something we tune for each product.
How a photo becomes an engraving
Here is the clever bit. A laser does not really do shades of grey. At any given point it is either firing or it is not. So how does it engrave a photograph, with all its soft shadows and highlights?
The answer is dithering. Before engraving, the software converts the photo into a pattern of tiny dots. Dark areas get lots of dots packed closely together; light areas get only a few, spread out. Stand back and your eye blends the dots into smooth tones, exactly as it does with a newspaper photo. Look closely at one of our photo engraved wooden coasters and you will see the dot pattern; hold it at arm’s length and you see a face.
Dithering is why some photos engrave far better than others. The process loves strong contrast and clear shapes. It struggles with subtle differences in tone, because those subtle differences turn into near-identical patterns of dots.
Why wood engraves brown
When the laser heats wood, it does not burn it to ash. It scorches the very top layer, darkening the natural sugars and fibres in the wood, a little like toast. That is why engraved photos on wood always come out in shades of brown, from pale honey through to deep chocolate, rather than in black or colour.
It also means the wood itself becomes part of the picture. The grain shows through, and lighter and darker bands in the timber take the engraving slightly differently. No two engraved coasters or beer mats are ever quite identical, which is a big part of their charm. Ours are 95mm round, 7mm thick, with four rubber feet on the underside.
Engraving glass with a rotary
Glass behaves completely differently. Rather than darkening, the heat creates tiny fractures in the surface, leaving a frosted, white etch that is permanent and will not wash off. Clear glass does not absorb a diode laser’s light easily, which is part of why glass needs carefully tuned settings.
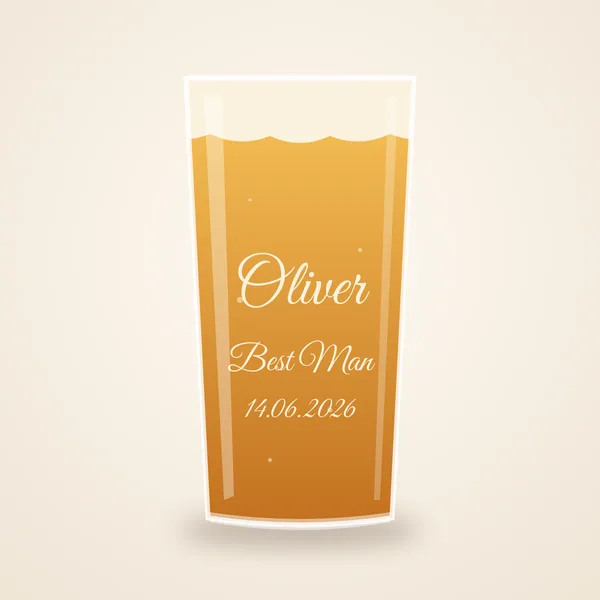
A pint glass also has an obvious problem: it is round. A flat engraving bed would only be in focus along one thin strip. So for glasses we use a rotary attachment, which holds the glass on its side and turns it slowly as the laser works, so the design wraps neatly around the curve. That is how the lettering on our engraved pint glasses stays crisp all the way round.
Because glass etches white rather than in tones, text, logos and simple line art suit it far better than photographs.
Choosing a photo that engraves well: a checklist
You do not need a professional camera. Most good results come from phone photos. What matters is what is in the picture, and how it is lit.
- Go for strong contrast. A clear difference between light and dark is what the dot pattern needs. A dark dog on a pale sofa engraves beautifully; a grey cat on a grey carpet does not.
- Look for good, even lighting. Daylight from a window, or outdoors on a bright but cloudy day, is ideal. Avoid photos where half a face is in deep shadow, or where flash has bleached everything flat.
- Crop in close. On a 95mm coaster, every millimetre counts. A head-and-shoulders shot is far better than a full-length photo where the person is small in the frame.
- Choose a simple background. Busy backgrounds (patterned wallpaper, crowds, leafy hedges) turn into visual noise once engraved and compete with the subject.
- Send the original file. Higher resolution means more detail to work with. Screenshots and photos saved from social media are often heavily compressed. If you can, upload the original from your phone’s camera roll.
- Avoid tiny faces in big groups. A group of twelve people across a coaster means each face is just a few millimetres wide, which is too small for the eyes and smiles to survive. For groups, pick your favourite two or three people, or choose a printed product instead.
- Remember it will be brown, not colour. A photo that relies on colour (a red jumper against green grass, say) may look flatter in brown tones. Try converting it to black and white on your phone first; if it still looks good, it will likely engrave well.
Quick test: shrink the photo down on your screen to roughly the size of a coaster. If you can still easily recognise who is in it, it is a good candidate.
What we do before anything is engraved
Every photo that comes in gets prepared by hand before it goes near the laser. Depending on the image, that can include:
- Adjusting brightness and contrast so faces stand out and the shadows do not fill in.
- Removing or simplifying the background where it is busy, so the subject stands clear.
- Cropping and positioning so the important part of the picture sits nicely inside the round shape, with room for your text.
- Checking the text fits comfortably and reads clearly at that size.
Most importantly, a human checks every proof. No order is engraved automatically. If we think a photo is not going to do your gift justice, we will get in touch and suggest an alternative, rather than engraving it anyway and hoping for the best.
Engraving or printing: which is right for your gift?
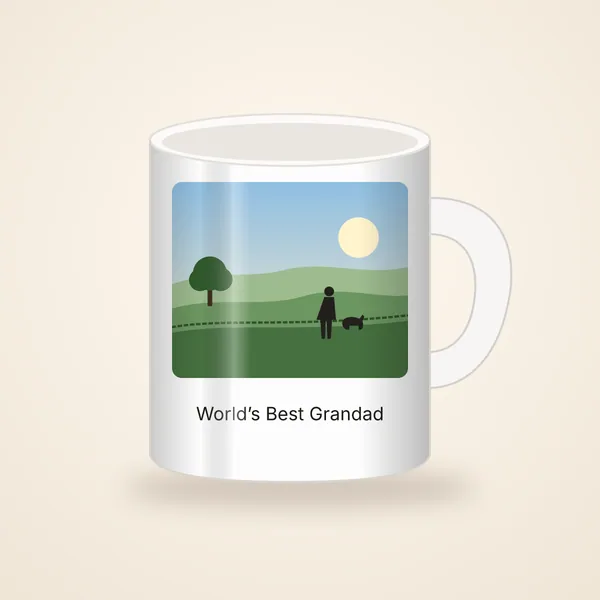
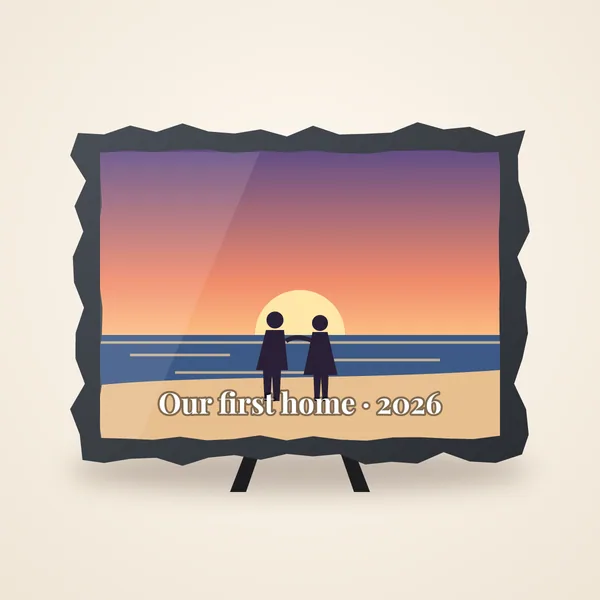
Not every gift should be engraved. We also print in full colour using dye sublimation, where heat turns special inks into a gas that bonds into a specially coated surface, so the design becomes part of the item rather than sitting on top. Here is how the two compare:
| Laser engraving | Sublimation printing | |
|---|---|---|
| Colour | Tones of the material itself: browns on wood, frosted white on glass | Full colour |
| Look and feel | Natural, tactile, rustic or classic | Bright, photographic, vivid |
| Best for | Names, dates, logos, close-up portraits and pets | Colourful photos, groups, patterns and artwork |
| Materials | Wood, slate, leather, coated metal, glass | Specially coated ceramics, metal, slate, crystal, polyester fabrics |
| Every piece unique? | Yes, the grain and texture of the material show through | Consistent from one to the next |
| Examples | Wooden photo coaster, pint glass | Photo mug, photo slate |
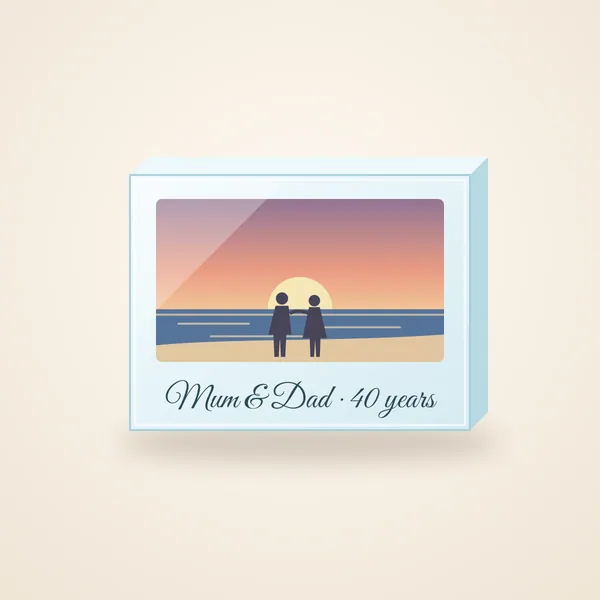
As a rule of thumb: if colour matters, or there are lots of people in the picture, choose a printed gift such as a crystal photo block. If you want something warm, natural and timeless, with a name or a close-up portrait, choose engraving.
Want something bespoke?
Everything above applies just as much to one-off pieces. If you have an idea that is not in the shop, whether that is a logo on a set of coasters, a design on a slate sign or a run of gifts for an event, take a look at our custom laser engraving service or browse all of our laser engraved gifts. We are always happy to talk through what will and will not engrave well before you commit.