Gift guide ·
How to Choose and Prepare a Photo for a Personalised Gift
A practical guide to choosing the right photo for a personalised gift, covering phone settings, original files, lighting and cropping, plus a resolution guide for every product.
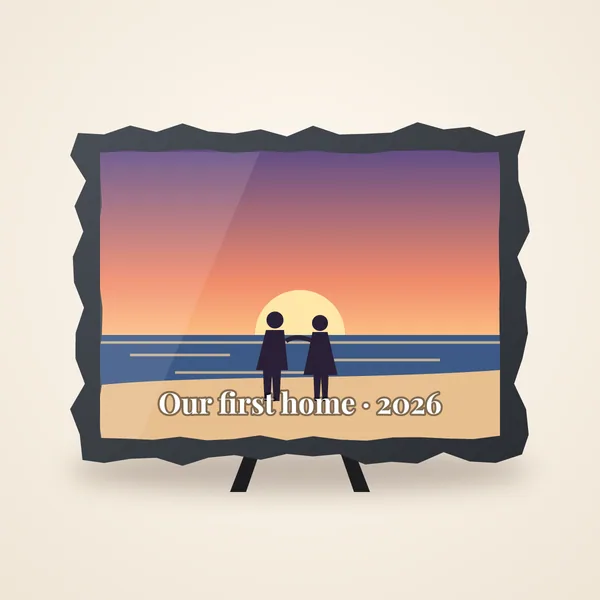
The photo you choose makes a bigger difference to a personalised gift than anything else. The same mug can look stunning or a bit disappointing depending on what goes on it. The good news is that you do not need a professional camera or any editing skills. You just need to know what to look for.
This guide covers how to choose a photo, how to get the best version of it off your phone, and what changes depending on whether your gift is printed in full colour or laser engraved. Every photo that comes into the Laser & Ink workshop is checked by a real person before anything is made, but starting with a good photo means a better result every time.
Printing or engraving? Start here
Most of our photo gifts are printed using dye sublimation, which gives full, vivid colour. Our photo engraved wooden coasters are different: a laser burns the image into the wood as tiny dots, in shades of brown. That changes what makes a good photo.
- For printing, colour, brightness and sharpness matter most. Group photos, colourful scenes and busy pictures can all work well.
- For engraving, contrast and simplicity matter most. A single face or a pet, close up, against a plain background, works best. Colour disappears, so a photo needs to look good in black and white.
If you are not sure which suits your idea, our guide to engraving vs printing goes into more detail.
Choosing the right photo
Lighting
Good light is the single biggest factor. The best photos are taken in soft daylight: near a window, outside on a bright but cloudy day, or in the shade on a sunny one. Watch out for:
- Harsh midday sun, which causes squinting and deep shadows under eyes and noses.
- Backlighting, where the person is in front of a bright window and comes out as a dark silhouette.
- Flash at night, which flattens faces and often turns eyes red.
- Dim indoor light, which makes phones blur and add grainy “noise”.
Focus and sharpness
Zoom right in on your screen and look at the eyes. If they are sharp, you are in good shape. If the whole picture goes soft when you zoom in, it will look soft on the finished gift too, especially on larger items.
Faces and size
The smaller the gift, the closer the crop needs to be. A group of ten people works on a 15 × 20cm photo slate. On a keyring or necklace, each face would be tiny. For small items, pick one or two people, or crop in tight.
Backgrounds
A simple background lets the subject stand out. For printing, a pretty beach or garden can add to the picture. For engraving, busy backgrounds like hedges, crowds or patterned wallpaper turn into visual noise, so we may simplify or remove them.
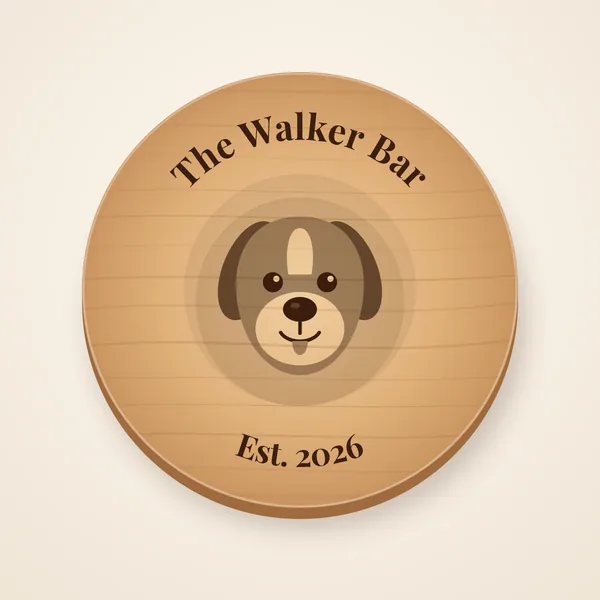
Phone settings and taking a new photo
If you have time to take a fresh photo, a few small habits help a lot:
- Use the main camera, not the zoom. On most phones, the standard “1x” lens gives the sharpest result. Digital zoom just crops the image and throws away detail. Walk closer instead.
- Use the highest quality setting. Check your camera settings and make sure it is not set to save smaller or compressed images to save space.
- Clean the lens. A thumbprint on the lens causes that hazy, glowing look. A quick wipe on your sleeve fixes it.
- Tap to focus on the face, and hold steady for a second after you press the shutter.
- Turn off heavy filters. Beauty filters and strong effects can look odd once printed large, and they often reduce detail.
- Leave some space around the subject. We can always crop in, but we cannot add back the top of someone’s head.
Send the original file
This is the most common reason a photo does not print as well as it could. When a photo is shared through a messaging app or social media, it is usually shrunk and compressed to save data. Screenshots are even worse: they capture your screen, not the photo.
- Upload straight from your camera roll rather than from a chat or a social media download.
- If someone else took the photo, ask them to send the original by email or a file-sharing link, or as a “file” or “document” rather than a photo in chat apps that offer that option.
- Old prints can be scanned, or photographed flat in good daylight with the phone held directly above, so the picture is square on.
Our upload accepts JPG, PNG, HEIC and WEBP files up to 10MB, so iPhone photos can go straight up without converting.
Cropping
The live preview on each product page shows roughly how your photo will sit. A few rules of thumb:
- Round items, like our wooden coasters, lose the corners. Keep the important part of the picture in the middle.
- Mugs wrap around, so the very edges of a wide photo will sit near the handle.
- Leave room for text if you are adding a name or message.
If something looks off in the preview, do not worry. We prepare every photo by hand before it is made, and we will get in touch if we think a different crop or a different photo would work better.
Resolution guide
Resolution is how many pixels a photo has. More pixels means more detail, which matters more as the gift gets bigger. As a rough guide, here is what we would suggest as a minimum for a crisp result. Anything taken on a modern phone’s main camera is comfortably above all of these.
| Product | Method | Suggested minimum (pixels) |
|---|---|---|
| Photo necklace or keyring | Printed | 800 × 800 |
| Wooden photo coaster (95mm) | Engraved | 1200 × 1200 |
| Photo coasters or slate coaster | Printed | 1200 × 1200 |
| Crystal block, small | Printed | 1000 × 750 |
| Phone case | Printed | 1000 × 2000 |
| Photo mug | Printed | 2400 × 1000 |
| Photo slate or large crystal block | Printed | 2400 × 1800 |
| T-shirt, hoodie or tote bag | Printed | 2500 × 2500 |
To check a photo’s size on an iPhone, open it in Photos and swipe up, or tap the “i” icon. On most Android phones, open the photo and look under “Details” or “Info”.
Quick test: zoom in on the face to roughly the size it will be on the gift. If it still looks sharp on your screen, it will look sharp on the finished piece.
Extra tips for engraving
- Convert the photo to black and white on your phone. If it still looks striking, it will likely engrave well.
- Look for strong contrast: a dark dog on a light rug, or a face lit from the side.
- Avoid very dark photos. Shadows tend to fill in on wood.
- Pets are brilliant subjects, especially with whiskers and fur that stand out from the background. See our guide for dog lovers.
Ready to make something?
Browse our personalised photo gifts, photo mugs and laser engraved gifts. Every order is made in 1–3 working days and delivered by Royal Mail in 2–3 working days, for £4.99 anywhere in the UK.